With the free trial version of TuneKeep M4V Converter, you can convert up to 5 minutes for each M4V video, and the free trial period is 30 days. To activate the full version, you can purchase the license key and we also provide a free lifetime update for users. In this page, you can learn how to activate the full version and how to use M4V Converter on Windows.
How to activate the full version of TuneKeep M4V Converter (Windows)?
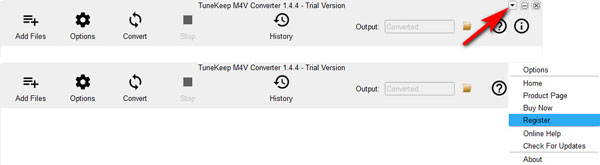
Launch TuneKeep M4V Converter (Windows) and iTunes will be automatically launched as well. There is a triangle icon at the upper right corner of converter and when you click on it there will be some options for you to choose. Please choose "Register" to open the unlock dialog.
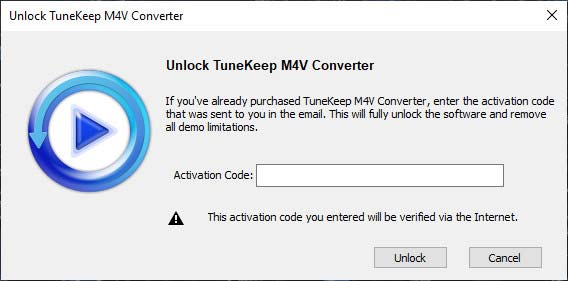
After clicking Activate button and you will see an "Unlock TuneKeep TuneKeep M4V Converter" dialog, simply copy your license key and paste it in the blank area, then click Unlock button. Once your license key is verified, you will get an "activated successfully" message.
Note:If you have problems and could not register M4V Converter online, please contact our support team for help via [email protected]. We will show you the way to register the program offline.
Exhaustive user guide of TuneKeep M4V Converter (Windows)
TuneKeep M4V Converter (Windows) is extremely intuitive and easy-to-use. Read the following steps and you can convert your favorite iTunes purchased videos such as iTunes movies, TV shows and music videos to MP4, enjoy them on any MP4 playable devices.
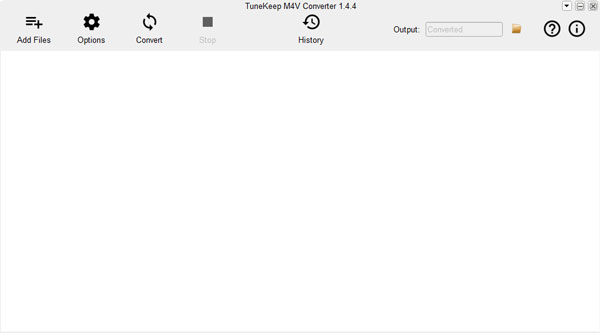
Step 1: Launch TuneKeep M4V Converter (Windows)
Since iTunes will be launched automatically with TuneKeep M4V Converter (Windows), please close iTunes before launching the program from desktop shortcut, task bar or start menu. It may take a little while like a minute or a few seconds to load the whole iTunes library if you have never launch the program once before this time.
Step 2: Add M4V Videos to Converter
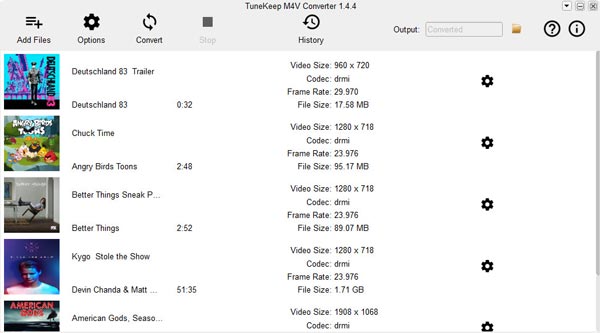
First of all, you should add iTunes M4V videos like Movies and TV shows or other purchased M4V videos. For that, you will need to click "Add Files" button, and then you will see all of them are listed in the left panel separately as playlists, just like in iTunes.
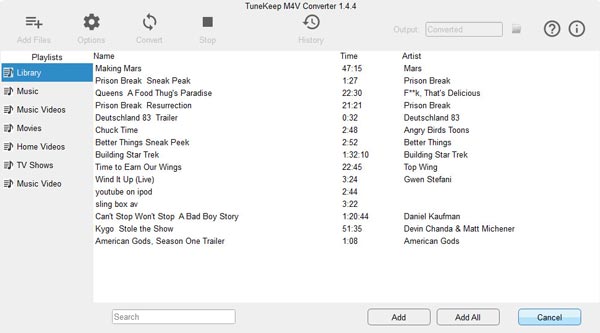
You need to choose and add those M4V files to the conversion list before converting them. If there are a lot of M4V files you want to add at one time, you can use multiple adding feature by using Ctrl or Shift key. When you have chosen the specific M4V files you want, click "Add" button to add the selected M4V files to conversion list. "Add All" button is used to add the whole videos in the current playlist to conversion list. If the files you want to add are listed in different playlists, you may need to press the "Add Files" button for several times. Besides, we prepared a built-in search box in case you need to locate a specific M4V file.
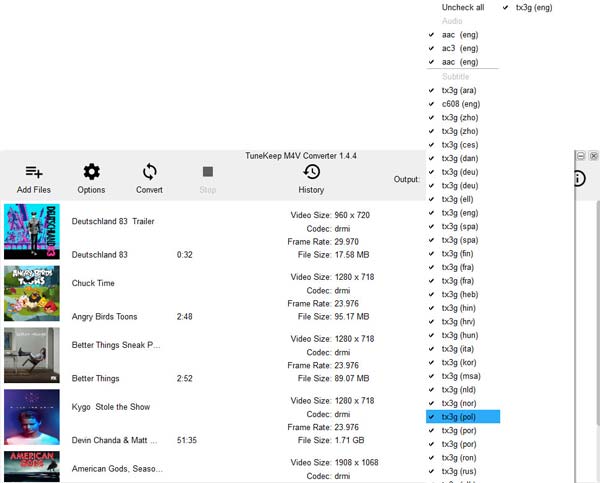
Step 3:Choose Subtitles & Audio Tracks
Normally, M4V Converter retains all the multilingual subtitles, audio tracks (including Dolby 5.1), closed captioning and audio descriptions by default. If sometimes you may only need to keep one or two of all those subtitles and audio tracks to get a purer converted file, all you need to do is click the settings button to uncheck them.
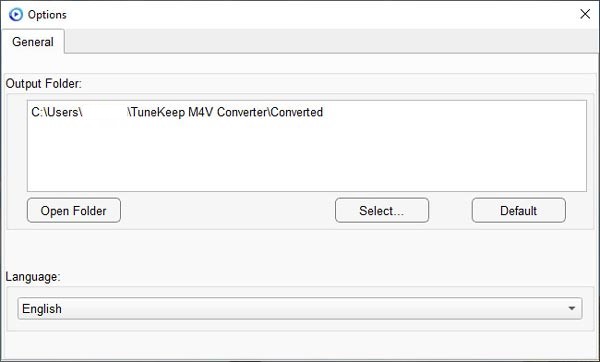
If you are not going to make any changes of the default output folder, the output MP4 videos will be saved in this path: C:\Users\(your username)\Videos\TuneKeep M4V Converter\Converted. If you want the output files to be saved in other folders, just click "Options" button to change output folder, please note that you need to change it before converting.
Step 4:Start Converting M4V to MP4
Now all the preparations have been completed. You only need to click "Convert" button to start converting iTunes M4V videos to MP4 and wait for it to be finished. Since M4V Converter provides 30X faster conversion speed, you will not wait for too long.
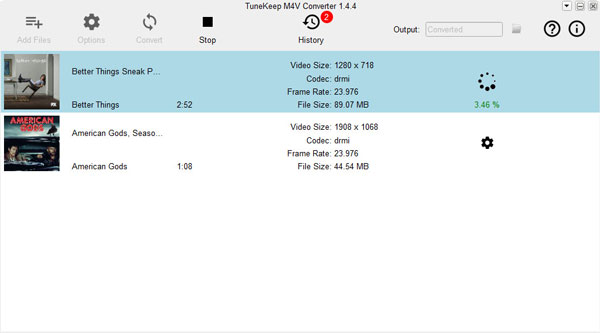
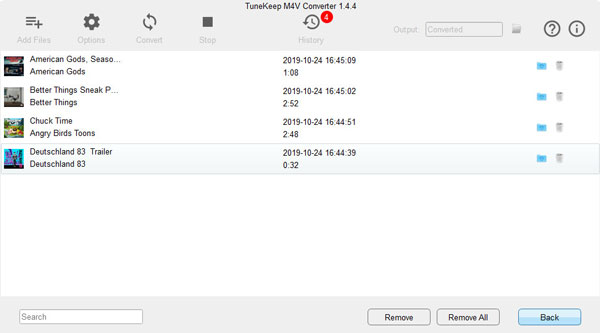
Although the conversion is now over, it does not mean that the functions provided by TuneKeep M4V Converter ends here. After conversion, you can click "History" button to locate the converted files, open output folder, delete conversion record or delete output files.
For now, you are able to copy or sync the output MP4 videos to various devices like Samsung, Huawei, LG, Google Pixel, Kindle Fire, Nook HD, etc. for on-the-go enjoyment, or add to video editing software or Blu-ray/DVD authoring programs as input sources, upload to your dropbox, Google Drive or One Drive, or save in your external USB hard drive.